前置條件 #
-
建立一個IAM role,提供以下權限(部分權限可能開過大,注意使用)
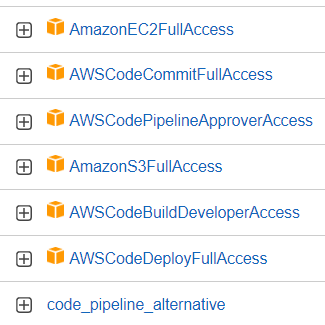
其中 code_pipeline_alternative內容如檔案: code_pipeline_alternative.json
-
在要執行的主機上,安裝code deploy agent
-
依下列步驟安裝前置需求套件
sudo apt update sudo apt install ruby-full sudo apt install wget -
下載安裝包
wget https://aws-codedeploy-ap-northeast-1.s3.ap-northeast-1.amazonaws.com/latest/install -
增加執行權限&安裝
chmod +x ./install sudo ./install auto -
安裝後確認是不是已在服務中
#service版本 sudo service codedeploy-agent status #systemctl版本 sudo systemctl status codedeploy-agent -
啟動&停止服務
#後續在主控台變更code deploy後,也需要將系統服務重啟
#service版本
sudo service codedeploy-agent start
sudo service codedeploy-agent stop
#systemctl版本
sudo systemctl start codedeploy-agent
sudo systemctl stop codedeploy-agent
(更新code deploy範例,假如要設定保留版本數量max_revision,檔案預設位置如下)

-
-
專案原始碼中,需準備以下檔案:
- buildspec.yml (在codebuild階段會用到)
- appspec.yml (在codedeploy階段會用到)
- (optional) linux shell script或powershell script (在deploy階段方便執行較複雜的指令)
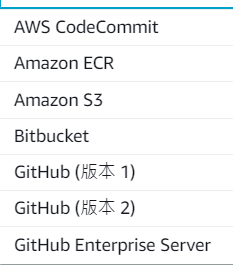
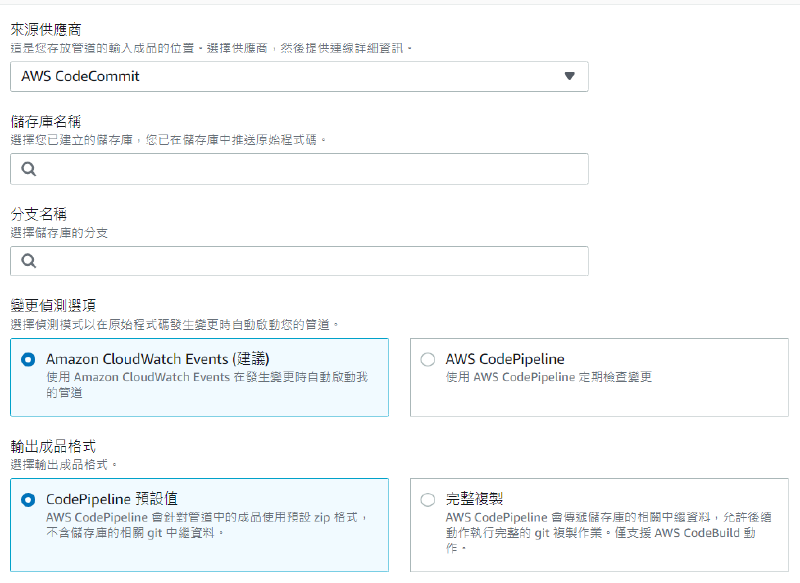
Pipeline中的"來源" #
這裡來源基本上就是指source code的位置,可以使用以下來源:
可以指定特定repository、branch,以及設定觸發方式與成品格式
Pipeline中的"建置" #
建議在建立pipeline之前就先建立Build專案
這裡可以選擇的來源有兩個:
其餘區域、Build專案選擇、環境變數、建置類型設定:
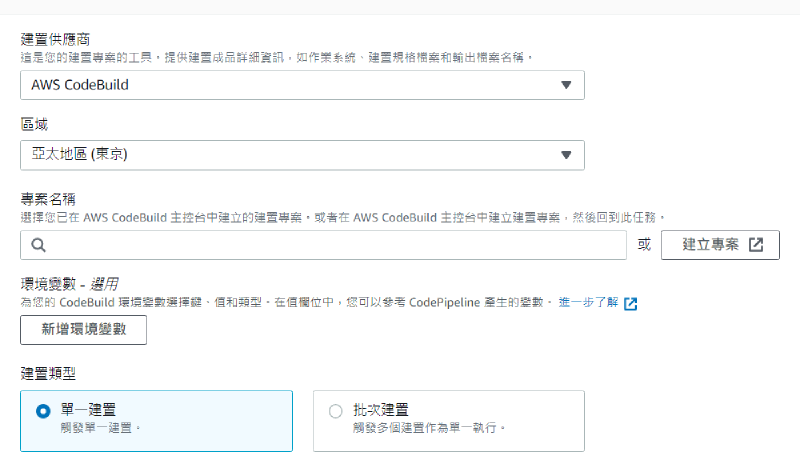
關於CodeBuild請參考: [AWS CodeBuild安裝與設定.md](AWS CodeBuild安裝與設定.md)
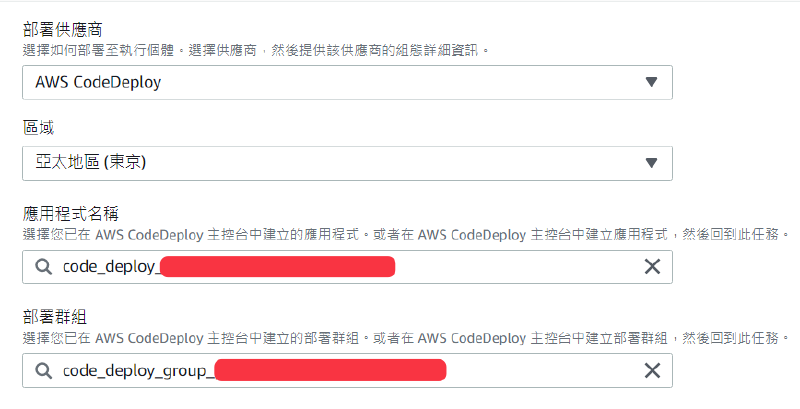
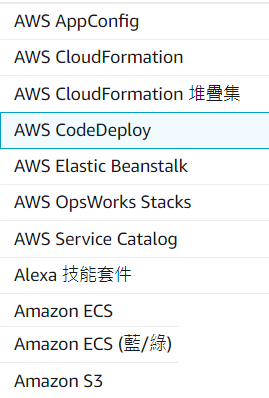
Pipeline中的"部屬" #
這裡以CodeDeploy為例,“需要"在設定前就先建好CodeDeploy裡的應用程式及群組
這裡一樣有多種部屬管道,但這裡只說明CodeDeploy:
指定部屬應用程式及群組: